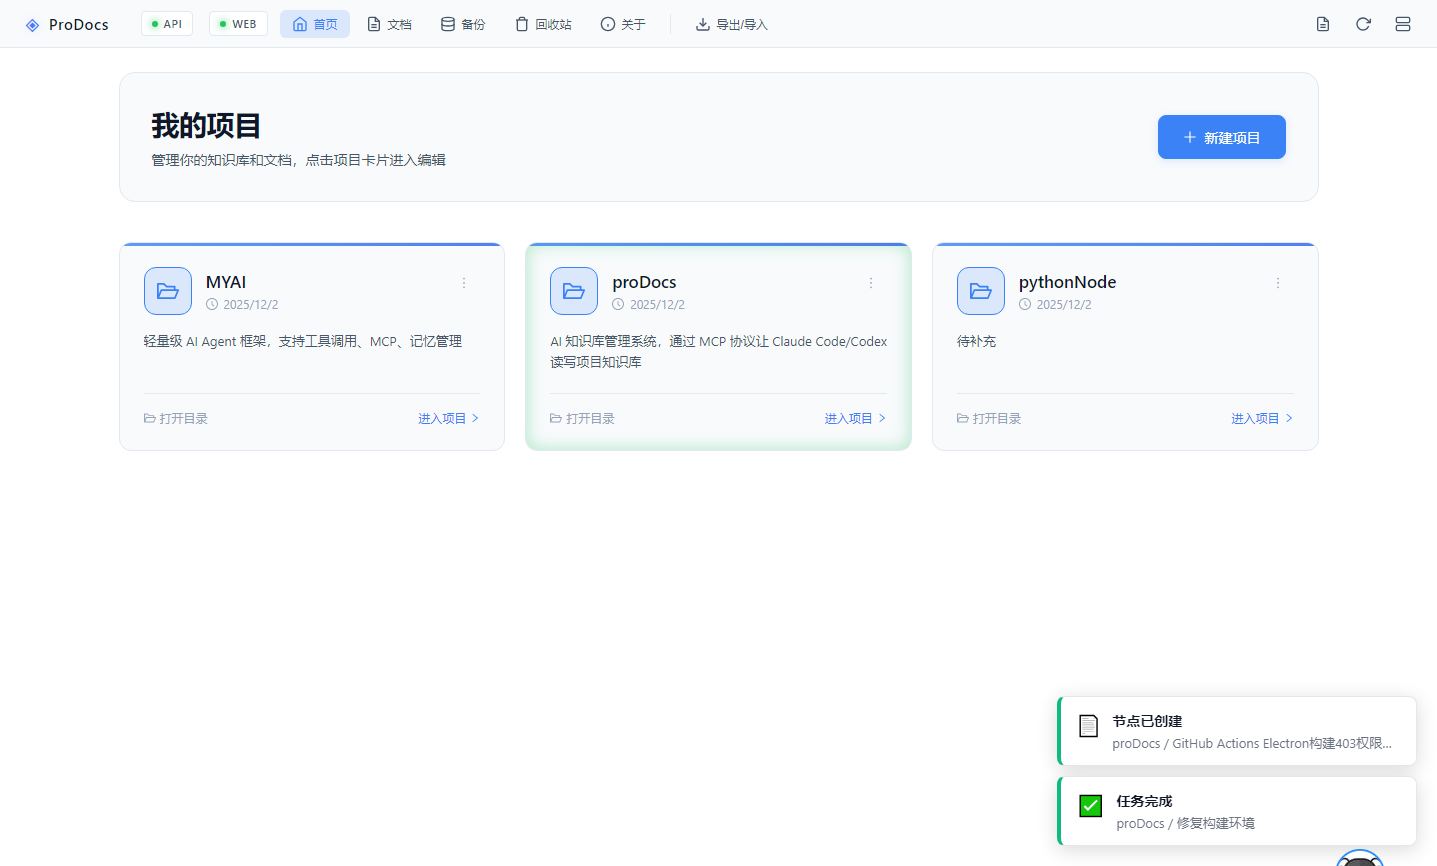
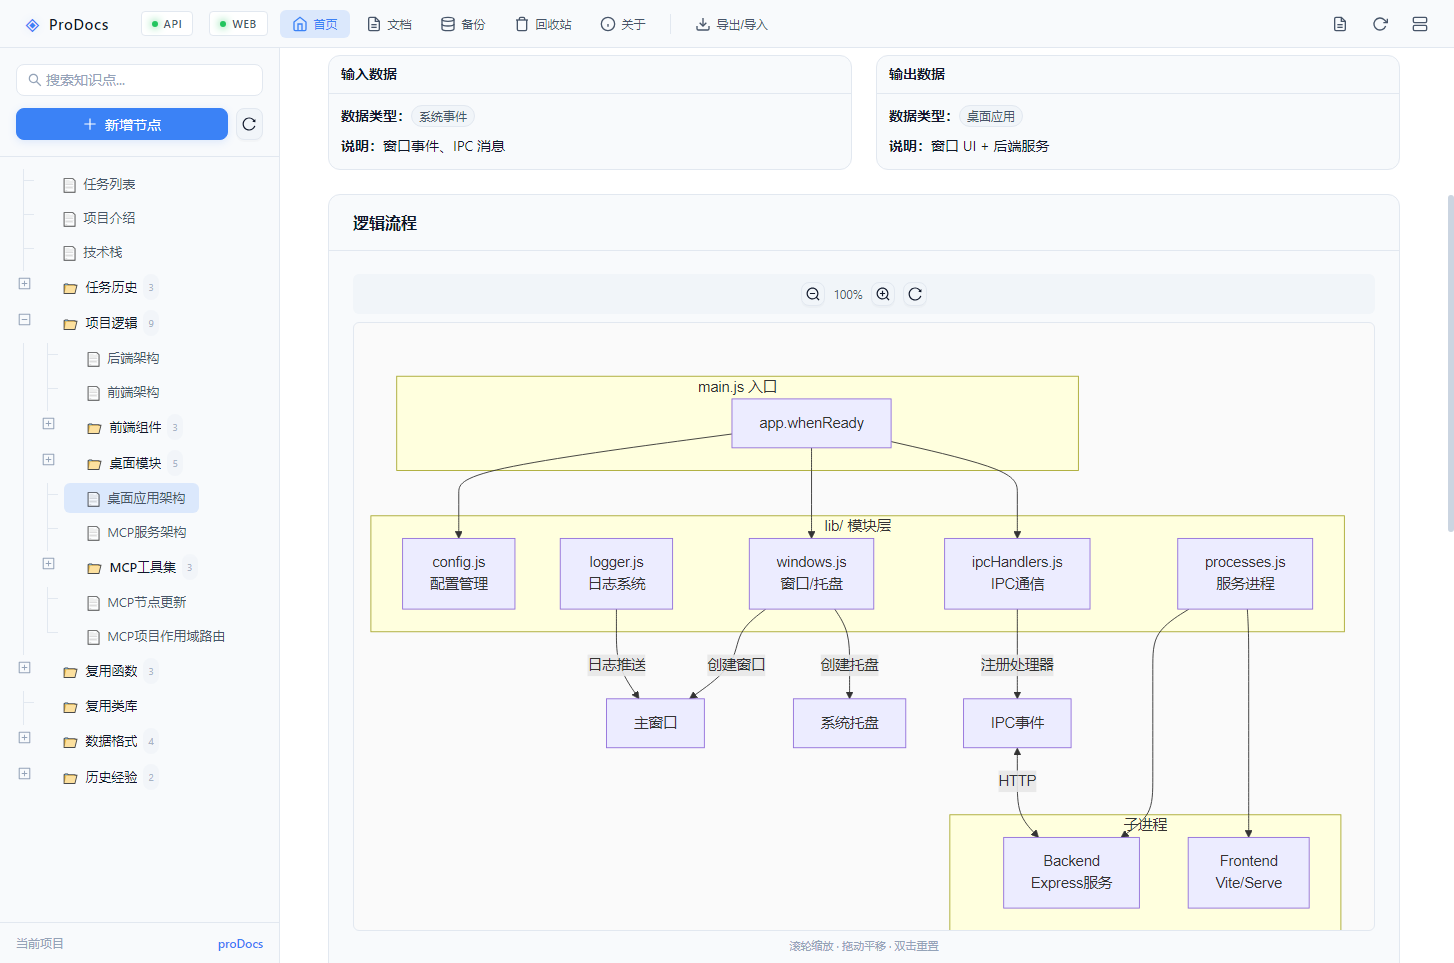
⚠️
配置分 两步:① 在 AI 工具中配置 MCP 服务器 → ② 在项目根目录创建 .proDocs 文件指定 API 地址。两步缺一不可!
步骤 1:配置 MCP 服务器
在项目根目录创建 .mcp.json 文件:
{
"mcpServers": {
"prodocs": {
"command": "node",
"args": ["C:/Users/用户名/AppData/Local/Programs/ProDocs/resources/mcp-server/dist/index.js"]
}
}
}
步骤 2:配置项目 API 地址
在项目根目录创建 .proDocs 文件:
{
"apiUrl": "http://localhost:23100/你的项目名/api"
}
- 将
用户名 替换为你的 Windows 用户名
- 将
你的项目名 替换为 ProDocs 中创建的知识库名称
- 重启 Claude Code 使配置生效
步骤 1:配置 MCP 服务器
编辑全局配置文件 ~/.cursor/mcp.json:
{
"mcpServers": {
"prodocs": {
"command": "node",
"args": ["C:/Users/用户名/AppData/Local/Programs/ProDocs/resources/mcp-server/dist/index.js"]
}
}
}
步骤 2:配置项目 API 地址
在项目根目录创建 .proDocs 文件:
{
"apiUrl": "http://localhost:23100/你的项目名/api"
}
- 将
用户名 替换为你的 Windows 用户名
- 将
你的项目名 替换为 ProDocs 中创建的知识库名称
- 重启 Cursor 使配置生效
步骤 1:配置 MCP 服务器
编辑全局配置文件 ~/.codex/config.toml:
[mcp_servers.prodocs]
command = "node"
args = ["C:/Users/用户名/AppData/Local/Programs/ProDocs/resources/mcp-server/dist/index.js"]
步骤 2:配置项目 API 地址
在项目根目录创建 .proDocs 文件:
{
"apiUrl": "http://localhost:23100/你的项目名/api"
}
- 将
用户名 替换为你的 Windows 用户名
- 将
你的项目名 替换为 ProDocs 中创建的知识库名称
- 重新运行 Codex CLI 使配置生效